
Keeping counters clear
I am going to be brutally honest and vulnerable here… My kitchen counter was a mess. Not the whole counter, mind you, just the part of it that was on the edge between the kitchen and the living area, right next to the pantry. But things had begun piling up, and the law of entropy kicked in – once things start piling up, the pile attracts more and more things. It’s just physics. It goes beyond “flat surfaces are clutter magnets” because once the first few items have been set down, your brain unconsciously sees it as an invitation to just put more stuff there (one or two more things won’t matter, right?), and then it’s a complete mess.

So when I absolutely couldn’t stand it anymore, I did the only reasonable thing: I took myself on as a client. Meaning, I stopped just letting this pain point exist, I detached myself from the situation, and I looked at it the same way I would look at a client’s kitchen to come up with a solution. Here’s my process.
1- What types of items are on this counter?
Figuring out what types of items make up the clutter is crucial to figuring out how to stop them from piling up! In this case, I had two big categories: electronics (that spot is where we put the tablets and chargers because it’s super convenient) and pantry overflow (things that had not been put away in the pantry properly). The pantry overflow started because I had a big canister that I meant to replace with a smaller one, but I procrastinated and left it out on the counter. Clutter is just unmade decisions, right? And from that moment onward, various items that belonged in the pantry just settled down to live on the counter with the big canister – either they didn’t make it back into the pantry after being used, or they were not put away with the rest of the groceries.
2- Figure out a solution for those types of items!
Alright, the electronics are there to stay, so let’s make it work. I went to The Container Store and looked at a bunch of trays and shallow bins before settling on a water hyacinth basket that looked good to me. Now, the tablets and chargers live in that basket. This works because not only do things stay corralled in there, but they also visually come across as having been put away where they belong rather than left out on a countertop.
As for the pantry overflow, I finally got that smaller canister that fits in the pantry. A few items were consumed as intended, some were returned where they belong, and I made a larger spot in the pantry for backstock to help prevent this situation.


3- Evaluate the solution
To prove my point that clutter attracts clutter, I didn’t tell my family members what I was doing, nor did I give them specific instructions for maintenance. They liked the basket and instinctively understood that electronics go in there. Because there was no clutter on the counter, things no longer piled up there unnoticed. After two weeks, I took another picture to show how it’s going. Two extra things made their way back: one is my husband’s glass of water, which he just always puts down in that spot, and that’s fine. The other is a bottle of supplements to stir in water for one of our kids – it’s just way more practical to have it there instead of in the dining room with the other supplements, so that’s where it lives now. And that’s it!

4- Tweak as needed
Things change in our life – right now we’re in a season where we use those supplements, but eventually we won’t need them anymore. Maybe it’ll be something else left out on the counter instead, and we’ll have to tweak the system to suit our situation at that point. Or maybe I would have needed to reevaluate the solutions I came up with if they had not been working well for us – that happens, and it’s normal. But I think we’ve got it handled for now!
The junk drawer
I recently saw this Etsy listing for a junk drawer starter kit, containing batteries, rubber bands, matches, a screwdriver, a flashlight, scissors, tape, and a pen. At first I laughed, but then realized that the things in there were useful and, therefore, this was not necessarily a gag gift. But it also made me want to define exactly what a junk drawer is.

Photo taken by Karolina Grabowska for Pexels.
According to Wiktionary, a “junk drawer” is a “drawer designated for the storage of various miscellaneous, small, occasionally useful items of little value.” The reason I don’t really like the term “junk drawer” is because to me, “junk” makes it sound like useless stuff, whereas in people’s homes, the contents of the junk drawer are actually useful!
The mid-century modern furniture company Joybird conducted a survey of 1,900 people in 2020 and determined the top 10 items that people keep in their junk drawer, which are (in order): tape, pens, spare batteries, scissors, flashlights, glue, paper clips, matches, rubber bands, and keys.

Infographic reprinted with permission from Joybird.
So here’s the thing: even though I consider myself to be someone who does not have a junk drawer, I do have all of these items in my home – they are just not stored together. I have a home office (albeit in an open area), so office supplies like tape, pens, scissors, glue, and paper clips are stored there. I keep the flashlight and spare batteries in the hall closet, the rubber bands in the pantry, and the matches (along with birthday candles) in a high cupboard out of reach of the kids. In the kitchen, I do have a small drawer of miscellaneous useful items such as masking tape and a marker (to label things going into the freezer), kitchen twine, bag clips, and a first aid kit, but to me that’s a utility drawer, not a junk drawer. It’s all in the wording, right?
The important thing is for every item to have a place, so that you know just where to look for them (and put them away). I love using small trays such as these to corral small items in place. Small trays allow you to customize your drawer, and designating a home for your items keeps order in the drawer and helps you find things more quickly. You can also use small boxes, lids, or even mismatched saucers. If you’re like me and like to label all the things, consider clip labels made specifically for drawer organizers! Labels aren’t necessarily for you so much as for the other members of your household to know where to put things back, instead of just tossing them in there and shutting the drawer.
Here’s to making peace with your junk drawer!
Spice storage
[This post contains some affiliate links. This means that if you were to purchase a product using my affiliate link, I would get a tiny commission, at no cost to you. As always, I only recommend products that I own myself or that I would buy if I were starting from scratch.]
I decided to write a quick post about my spice storage at home. No matter where you live, whether it’s a single-family house or a studio apartment, whether you own or rent, one constant is that you have a kitchen. There’s a place where you prepare food, which means there are spices. And it’s so common to see spices out of control in a kitchen! They come in different containers: glass jars, metal tins, plastic bags and boxes. Even if you stick to only glass jars, they come in different shapes and sizes! What’s a home cook to do?
The main problem with commercial spice racks is that they don’t seem to be designed by people who cook. If they were, they would hold more than 12 or 20 jars, for one thing! I have about 44 spices in my set, and I would be at a loss to pare it back below 40!

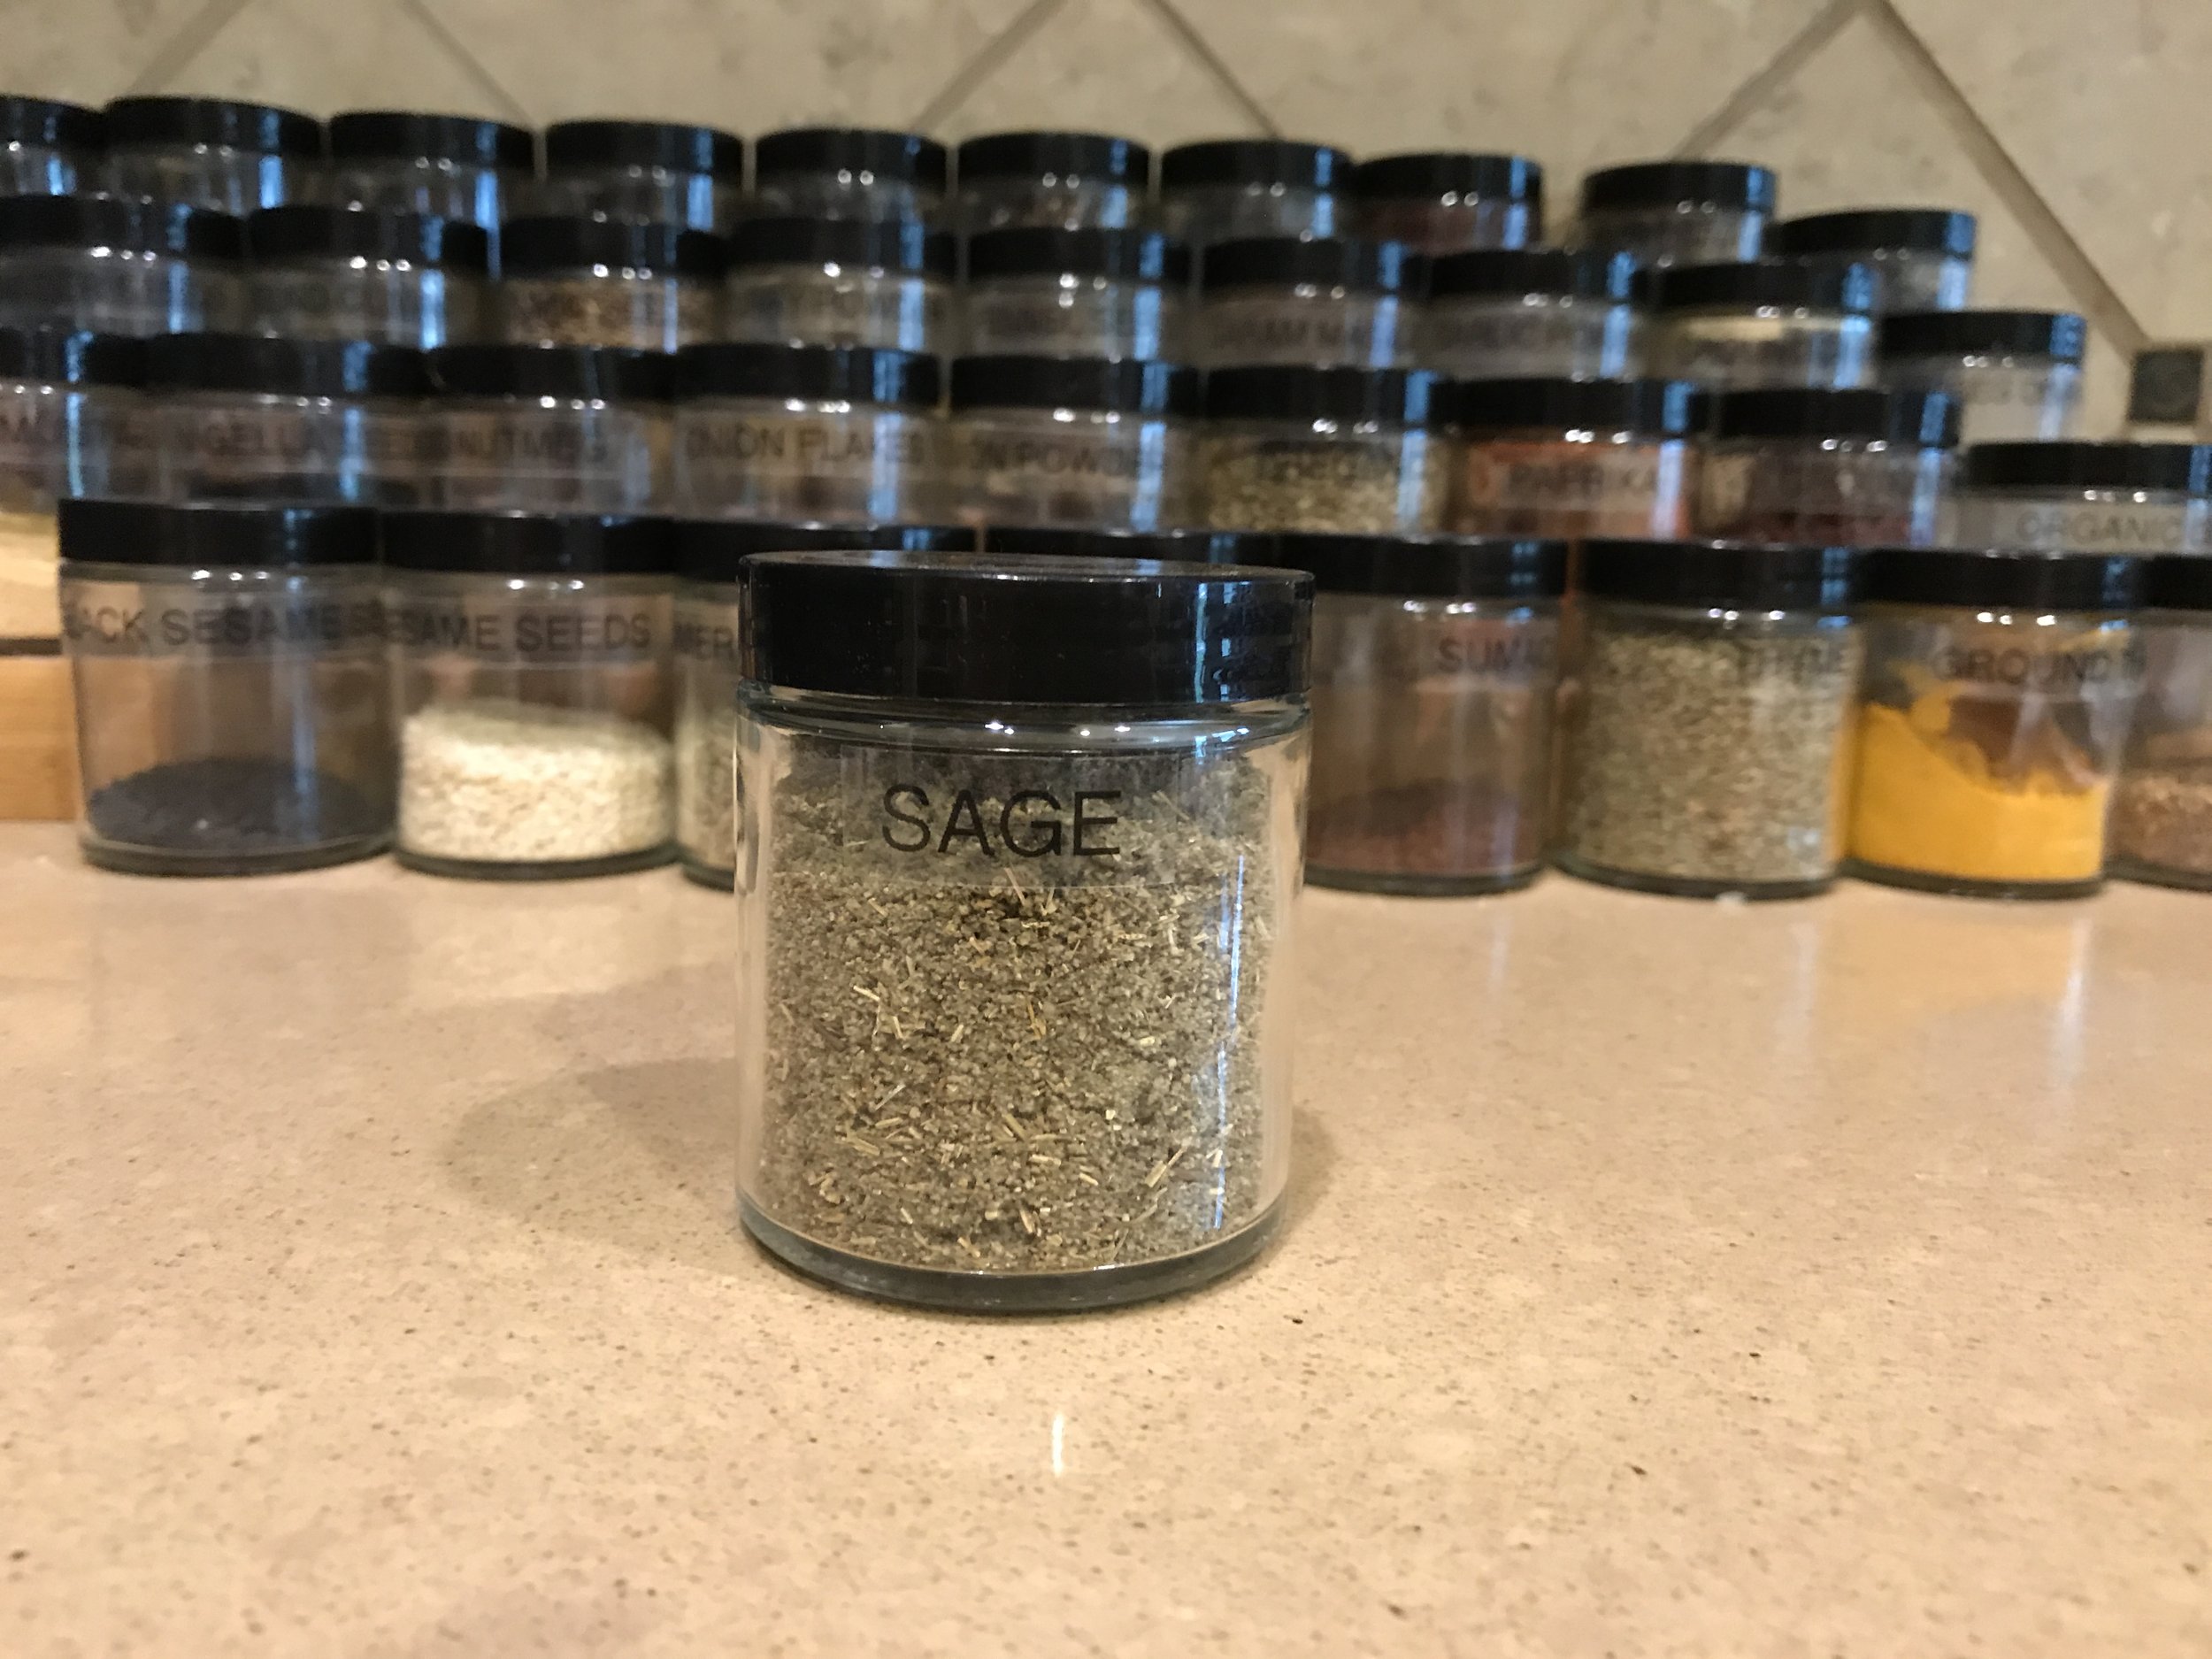
Here’s my recommendation for storage: If there is one single thing you can do to help get things under control, it’s to decant all your spices into uniform-looking jars. Personally, I favor short, wide jars with a 4-ounce capacity, like these affordable and sturdy ones. The wide mouth of the jar allows you to dip measuring spoons into it, which makes your life so much easier than trying to tip out the right amount of spice! They are also big enough for the contents of most spice bottles. Then, instead of a rack, place your jars on expandable risers like these. You can put them in a cupboard to protect the spices from the light, but tinted jars work too.
The set to which I linked above comes with chalkboard labels and a chalk marker, so there’s no need to buy a label maker if you don’t have one already. You can also consider using a white paint marker directly on the glass jar. If you have room for the jars in a drawer, you can label the cap. And with a custom-sized sheet of galvanized metal and some magnets, you can make a magnetic spice rack!
Another tip is to organize your spices alphabetically. I started doing this when I was 20 or so, after accidentally buying a second jar of tarragon when I didn’t realize I already had one – and I don’t even like tarragon all that much in the first place! Some people like grouping their spices by themes, like putting all the holiday baking spices together, but to me this becomes confusing when I’m cooking Indian food and need cinnamon, for example.
You’ll notice that this set creates clear limits for my spices. When I added dried sage last fall, it took the place of grains of paradise, which I wasn’t really using anyway. Having a space budget helps keep things under control!

Not only do these jars look fantastic, but they are also more functional than the original containers. Both aesthetics and functionality will help you be more at peace in your kitchen, and that, to me, is the point of organizing.